This page is designed to be a list of items that people have found don't fit, or are difficult to fit. The items listed here are not problematic and their appearance on this page does not affect the build. Where available, a solution or course of action is provided. Please let the club know if you have had particular worries with the build and we will add those to this page along with a solution.
Outer Door Shells. When fitting the outer door shells, you may find that the shape of the door does not exactly match that of the opening in which it fits. If this is the case, set the outer skin such that the crease line matches those in the body and even up the gaps as best as possible. Once the door has been bonded the shut lines can be evened out using filler and or cutting back sections of the edge of the outer door moulding. Lining up the creases may be awkward, in order to make this easier drill and rivet about eight short strips of aluminium around the perimeter of the door. This will hold the door in place and allow subtle adjustment before bonding in place. Ensure the inner door is not preventing the outer from moving. If necessary cut back the inner. A good way of checking clearance of the inner shell, is to run a length of string from the front to the back of the door opening with the inner in place and all locks fitted and engaged. You will clearly see where the inner projects beyond the outer skin of the door opening.
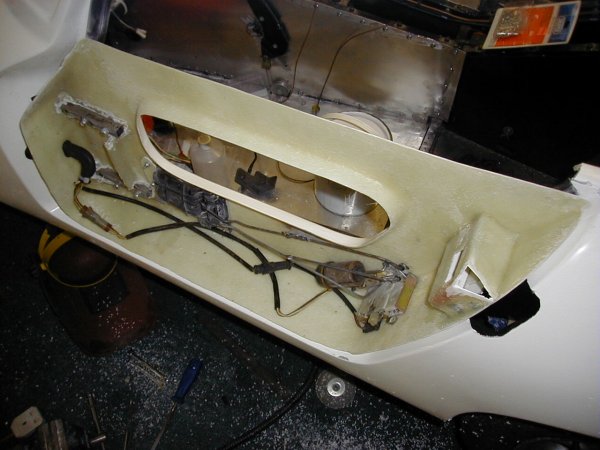 Inner door in position ready to accept outer moulding.

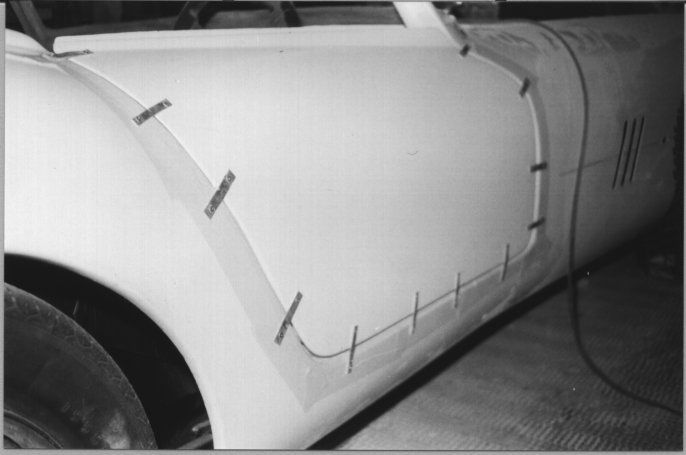 Examples of doors held in place with aluminium strips
Top of Doors. The main body shell, just behind the top of the door, is slightly different on the each side of the car. When fitting the doors, line up the crease lines and either modify the body moulding to match the doors, or ignore the differences in the two sides.

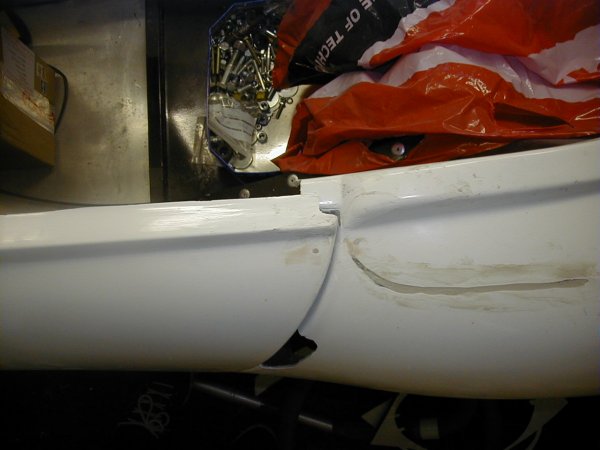 Photographs showing the
differences between the two sides
Photographs showing the
differences between the two sides
Doors hit Bodywork when filly open. This is usually the case on the driver's door. The front of the door outer hits the outer shell just below the windscreen. This is easily fixed by using washers to pack out the hinge. This moves the centre of rotation and fixes the problem.
Watts Linkage and Panhard Rod don't fit. Nice and simple this one, but not always if you are sat around scratching your head! When the suspension is nearly fully assembled and you are fitting either the Watts Linkage or Panhard Rod, you may find they won't fit. In the case of the Panhard Rod the rear axle is usually slightly off centre and the bolt hole won't line up. Simply push the axle in the required direction and bolt up. The same is true for the Watts linkage only you will need to rotate the centre mounting point as well as push the axle across.