Page 5 of 8
Re: My build progress & a million questions
Posted: Fri Mar 07, 2008 10:42 pm
by Werner Van Loock
The steering rack brackets are also in. Welded by my dad, but not much better welding then what I did myself.
But I will be getting new engine mounts welded by someone that can weld

Re: My build progress & a million questions
Posted: Sat Mar 08, 2008 10:30 pm
by stylussprinter
Cerberus wrote:Rob, your memory is not working, my car was the one Nathan converted

Phil

Sorry Phil , I saw the yellow car (norma) and thought I was replying to you --------- good job I'm retiring aye

Re: My build progress & a million questions
Posted: Mon Mar 10, 2008 1:18 pm
by Cerberus
stylussprinter wrote:Cerberus wrote:Rob, your memory is not working, my car was the one Nathan converted

Phil

Sorry Phil , I saw the yellow car (norma) and thought I was replying to you --------- good job I'm retiring aye

I'm thinking, you will be drinking far too much Rioja when you retire

Phil

Re: My build progress & a million questions
Posted: Mon Mar 10, 2008 2:27 pm
by stylussprinter
Yes , Im definitely in training for it Phil

Funny you should say Rioja , it's one of my favourites , along with quite a few others

Re: My build progress & a million questions
Posted: Sun Apr 27, 2008 10:14 am
by Werner Van Loock
Ok, here I am again with more questions.
Reading Matt's woes about his fuel pumps breaking down, I'm wondering how to do my fuelling in the car.
Was first goinbg to use the original fuel outlet of the midget tank till i found out the inlet side of my fuel pump has a 10mm ID, don't think it's a good idea to connect 10mm ID to a 5mm ID supply.
And thinking of Rob's new mini fuel tank with little cup at the bottom I was wondering if it's possiblr to do a same cup at the bottom of the midget tank and put the fuel pump and the LP fuel filter also under the tank. But how far will it be from the road? Probably also needs some shielding from stones and stuff. Will be putting the HP filter near the engine.
Other question, i've fitted the braided brake hoses on the front but they touch the top. I've added some fuel line over them, but is it ok?
And here's my cut and modified fuel sender, new ones are bloody expensive.
And how do i mount the radiator? And where, got the polo rad now, but have no clue how to mount it.
Re: My build progress & a million questions
Posted: Sun Apr 27, 2008 12:23 pm
by stylussprinter
Regarding fuel tank--- you could fit a 3 inch diam' x 2 inch deep cup under the tank BUT remember the purpose of it --- low fuel , fast cornering = air into fuel line ---SO , when the cup's welded to the bottom of the tank , the tank hole should be about 2 inches . This helps prevent the little drop of fuel ,that may be in the tank at low level , from allowing air into the line --- very simple. Then the pump intake should be at the same level(it needn't be below the outlet) Also stuff your tank with foam pieces shuved down the filler pipe. This way they'll be no need for a swirl pot or a lifter pump JUST a good high pressure pump. The exit from the ' cup ' needs to be 13mm or more then use stepped joiners to match the pump plus 10mm or 8mm pipe at least up to the fuel rail on the engine.
It will hang about 2 inches below the F/glass rear BUT your car will be so much higher than mine , it wont give you ant problems Werner.
Regarding the brake lines------ all early Stylus's built were given a build manual and this said to use a very large rubber covered 'P' clip around the upright tube TO WHICH you bolted a very small rubber covered 'P' clip to hold the brake line clear of fouling anything

A lot of people complained about the build manual BUT personally , I found it answered all these minor as well as major tasks.
Re: My build progress & a million questions
Posted: Sun Apr 27, 2008 1:32 pm
by Werner Van Loock
TBH, didn't bother looking in the buildmanual as I was making my post anyway.
And should i mount the fuel pump under the tank too, or only the cup?
BTW, 8mm fuel line is worthless as the outlet of the pump is only 5mm, so everything is 6mm (even the fuel pressure regulator is 5mm)
Re: My build progress & a million questions
Posted: Sun Apr 27, 2008 2:00 pm
by spidermike
Regarding the brake lines.
.just went stright past with my hoses

check out the uprights ..looked good 3yrs ago when i put them on

Re: My build progress & a million questions
Posted: Sun Apr 27, 2008 2:16 pm
by spidermike
R JUST MAKE UP A SMALL BRAKET ..AS LONG AS YOUR HOSE ISNT TO LONG

Re: My build progress & a million questions
Posted: Sun Apr 27, 2008 3:36 pm
by Werner Van Loock
spidermike wrote:Regarding the brake lines.
.just went stright past with my hoses

check out the uprights ..looked good 3yrs ago when i put them on

Well, I'm using the escort setup, yours is the sierra setup, so it's a bit different, but the bracket might work.
Re: My build progress & a million questions
Posted: Sun Jun 01, 2008 9:22 pm
by Werner Van Loock
Had some time again so some more progress: (images are clickable)
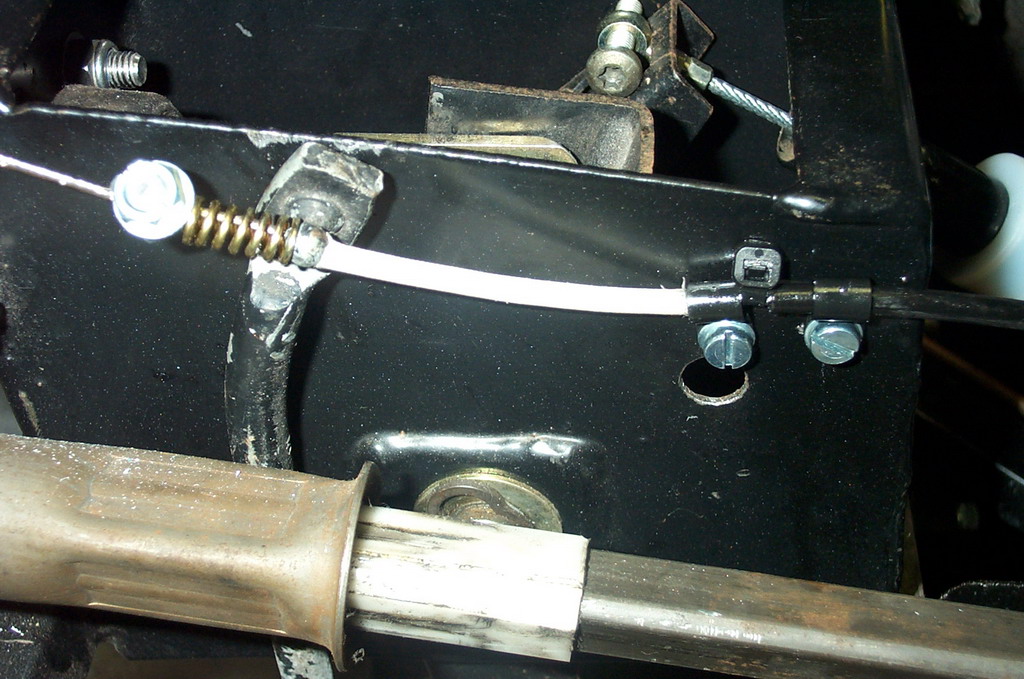
Some quick made throttle linkage
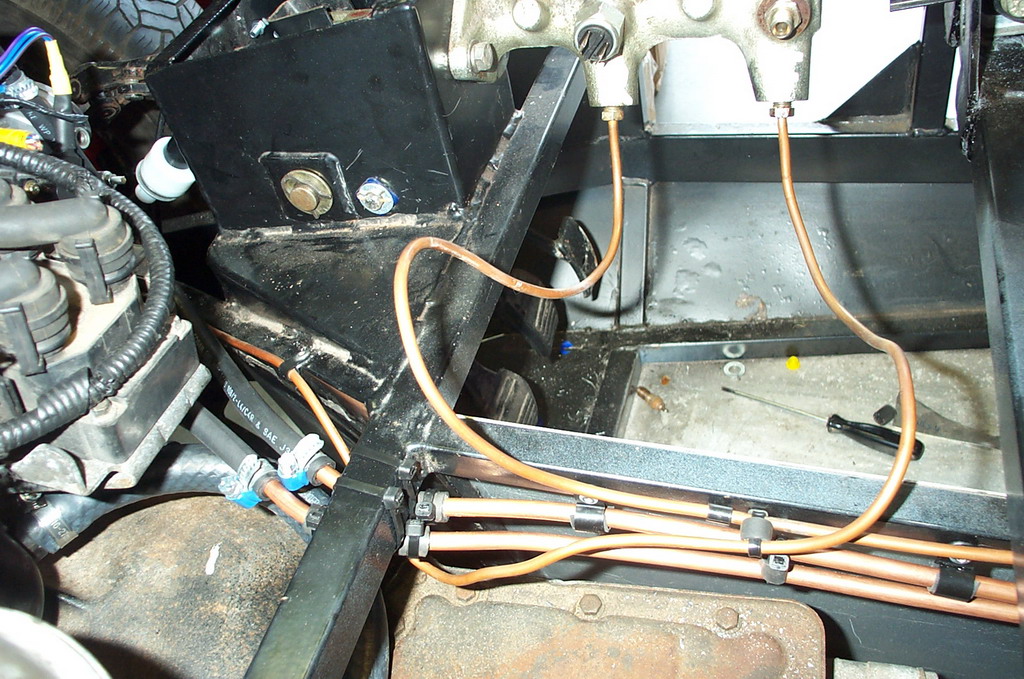
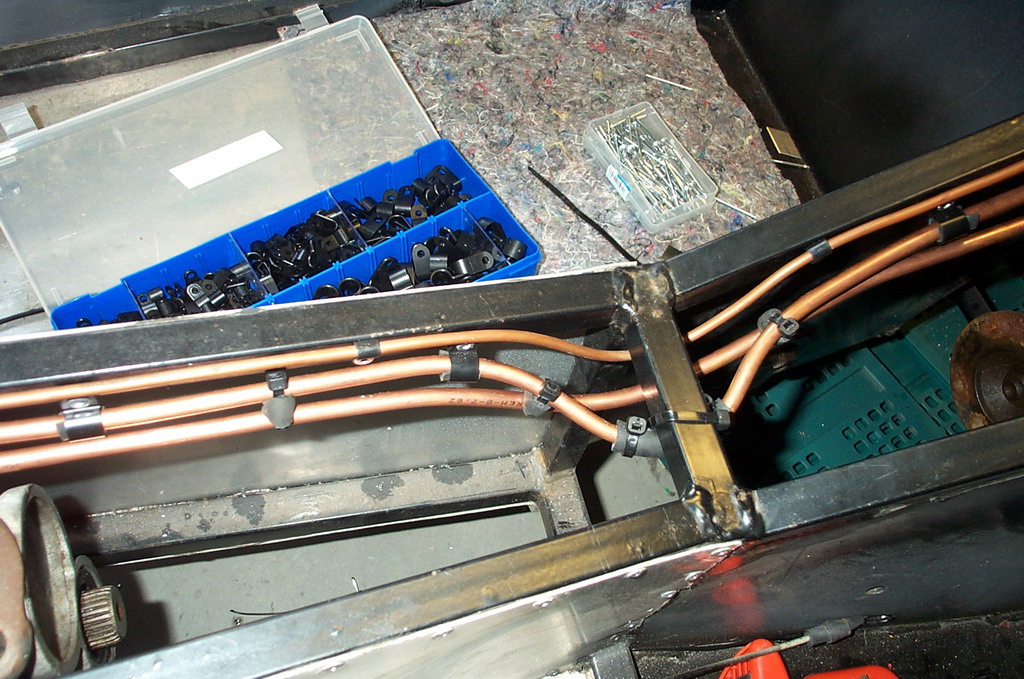
fuel and brake lines in center tunnel
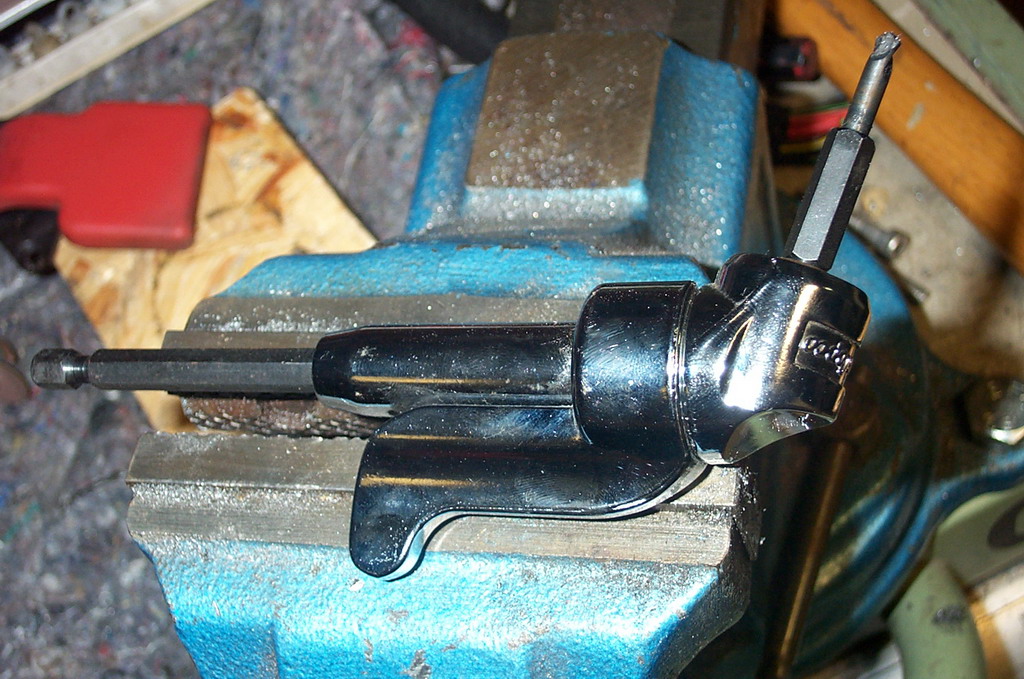
And all thanks to this tool, without i wouldn't of known how to of drilled those holes in there. The drill once was 2" long, not much left

Plumbing done, looks a bit shiny

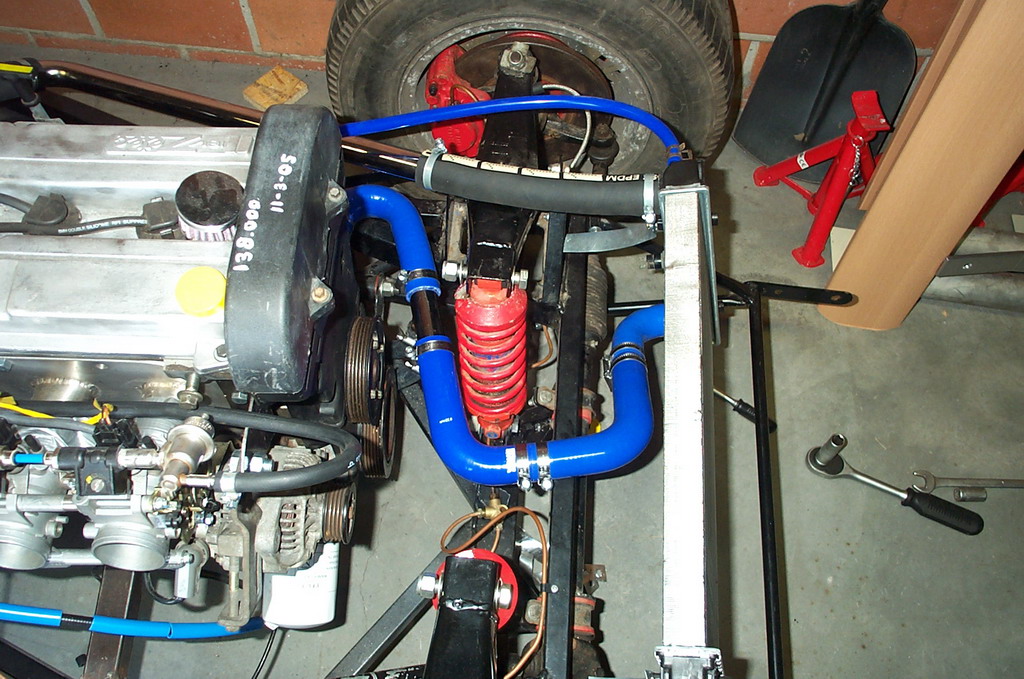
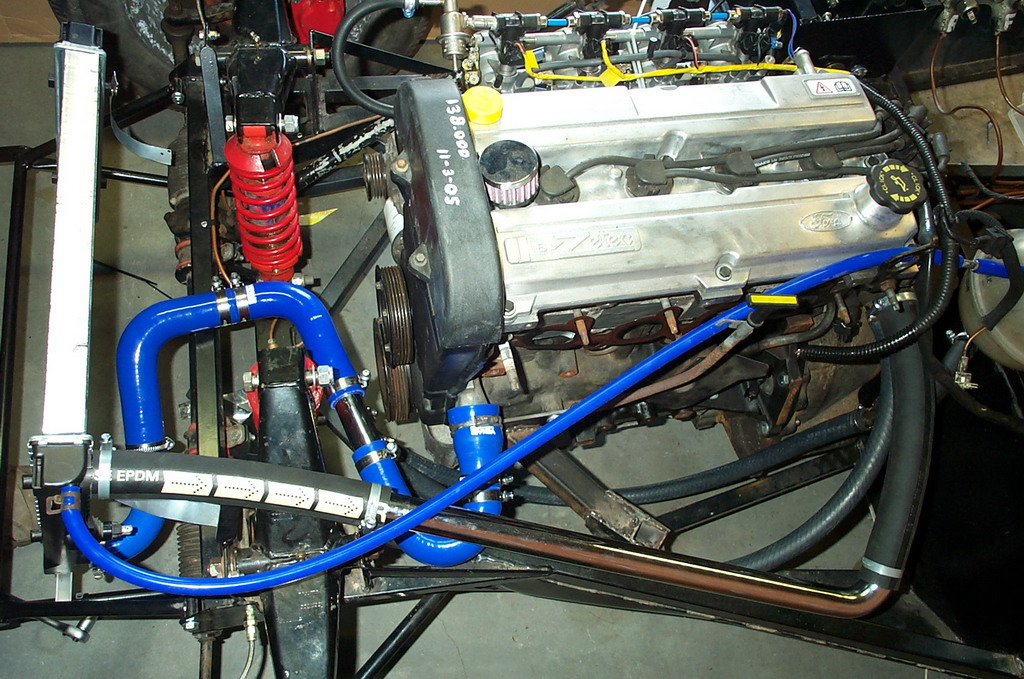
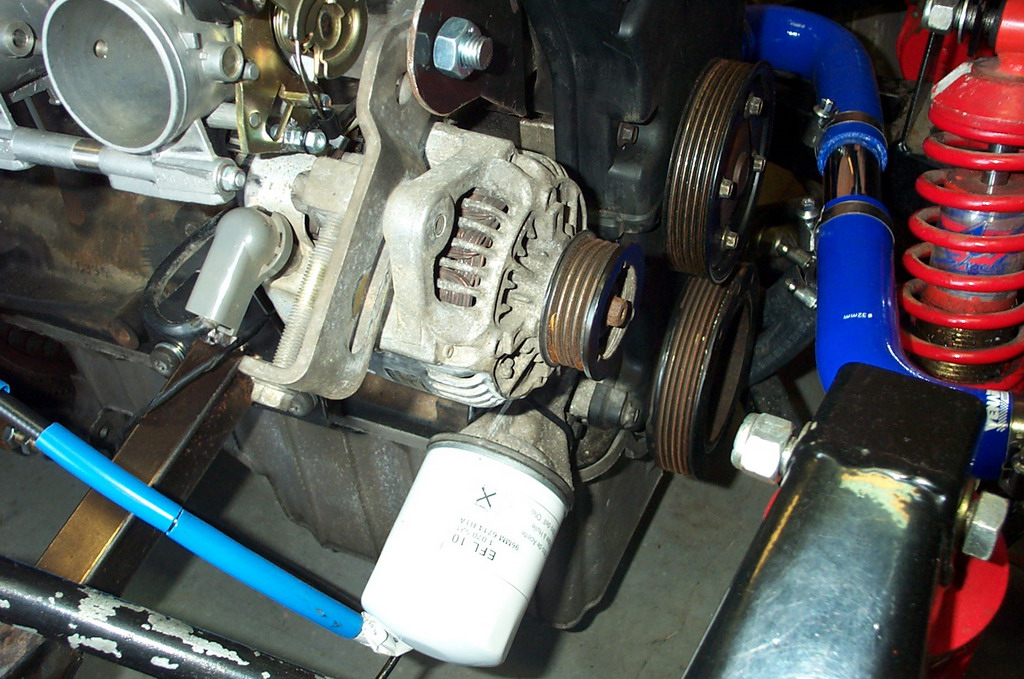
Got a nippon denso alternator after all, much easier to fit.
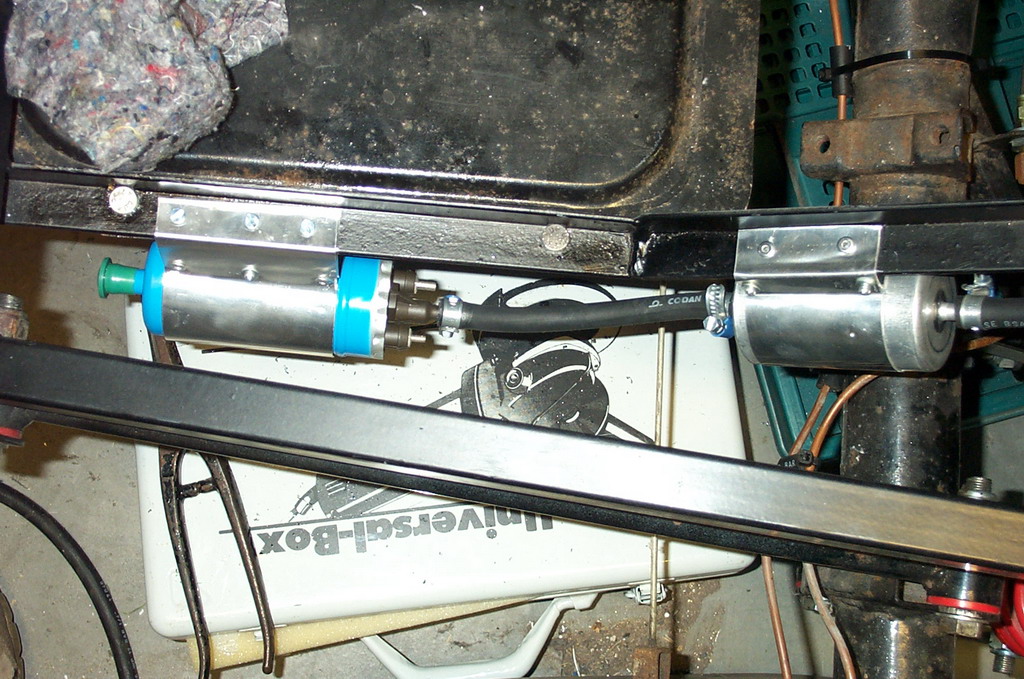
Fuel pump and high pressure filter in place
Mini Rob Farley swirl pot in place
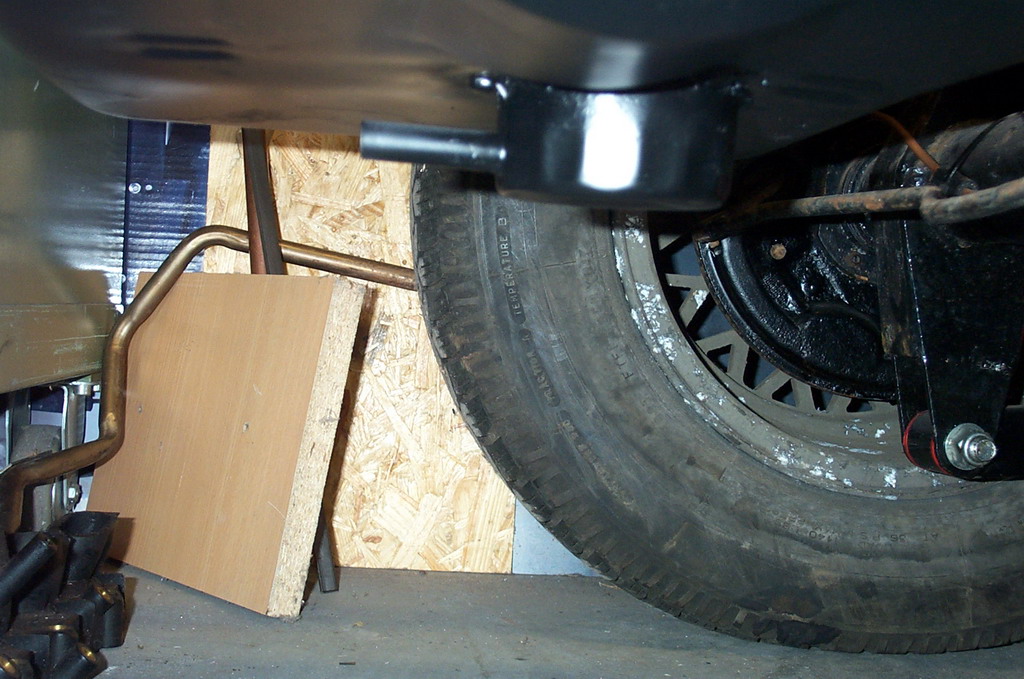
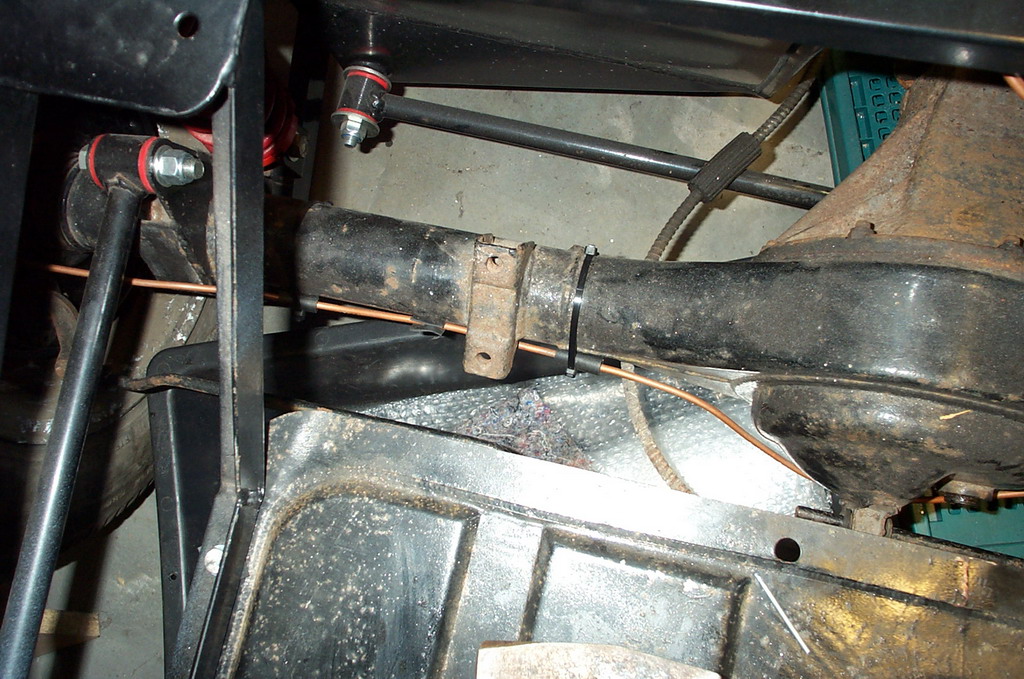
Brake lines in place on live axle, is this acceptable?
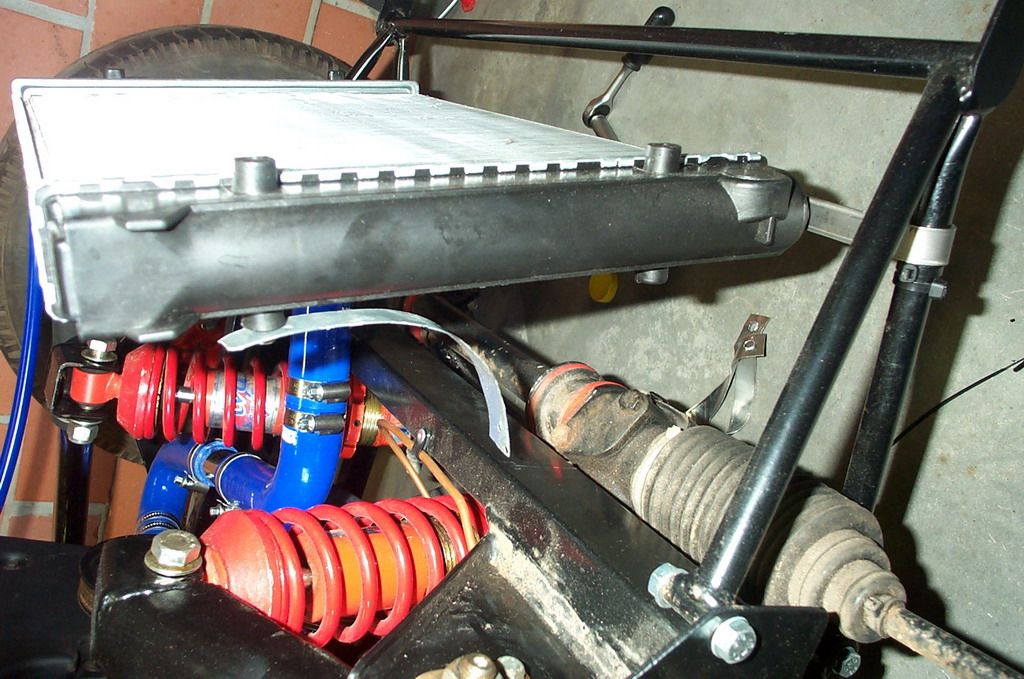
And now another question, how have you guys mounted the rad? I'm using the VW Polo type.
Re: My build progress & a million questions
Posted: Sun Jun 01, 2008 9:46 pm
by Cerberus
This is how mine is mounted, two brackets welded to the front of chassis the second photo is of the frame i made to mount the fan this then bolts to the brackets n the chassis sorry for the poor photos but you should be able to work it out
Phil

Re: My build progress & a million questions
Posted: Mon Jun 02, 2008 12:08 am
by stylussprinter
I didn't fit the radiator until the body was on and therefore the F/Glass front '' D '' pieces were in place. The Passat Deisel radiator has 10mm legs poking from the bottom at each corner. These pushed into ' nuts ' welded onto the ' A ' frame then I made alloy brackets to fix the top rad' sides to the ' D ' pieces.
Re: My build progress & a million questions
Posted: Mon Jun 02, 2008 8:43 am
by Werner Van Loock
Rob,
Mine also have the bottom pins, and i've used a long piece of metal with 2 holes drilled in and bent around the support frame, so I will probably also connect the top to the D-shape fiberglass then.
The reason it's already mounted is that i want to see the engine running and perhaps driving the car before i start with the body.
Re: My build progress & a million questions
Posted: Mon Jun 02, 2008 9:09 am
by stylussprinter
Werner Van Loock wrote:Rob,
Mine also have the bottom pins, and i've used a long piece of metal with 2 holes drilled in and bent around the support frame, so I will probably also connect the top to the D-shape fiberglass then.
The reason it's already mounted is that i want to see the engine running and perhaps driving the car before i start with the body.
I don't know

-------- boys and their toys


