Page 7 of 11
Re: RT rebuild thread
Posted: Tue Feb 14, 2012 6:37 pm
by DH2
As we know, winter has been making itself known the last couple of weeks, so not alot of further garage time.
Since it was just scraping above zero on Sunday, I spent a little time in there removing the remaining tunnel panels - not much (any) triangulation going on here, which seems to be a recurring theme with this chassis.
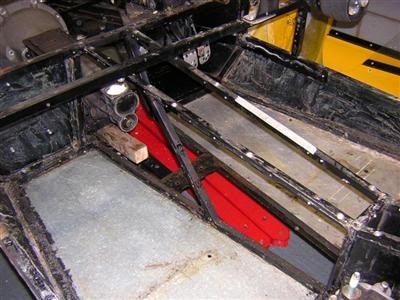
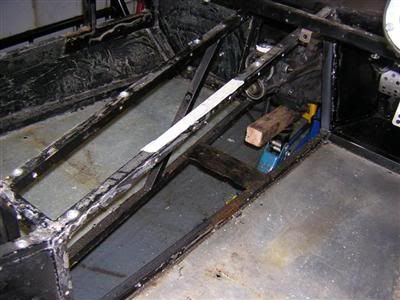
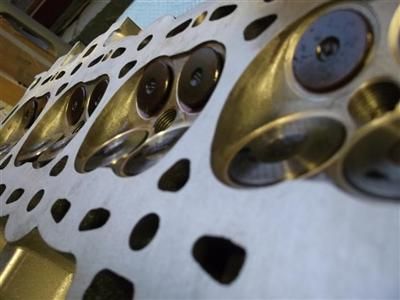
Outside of the garage, I have lucked upon some nice Tillett seats to go in it which should be with me next week, and have sent the cylinder head off to be fettled and built to spec - I think this will be the most expensive single part on the car.
Dave
Re: RT rebuild thread
Posted: Tue Feb 14, 2012 7:08 pm
by stylussprinter
Triangulation wasn't needed so much due to the steel side sheets and steel seatpan areas. It's actually a stiffer chassis than a Fury or Phoenix. On top of that the body isn't in sections demountable plus the inner body is riveted onto the chassis first then the outer body bonded on --- the other Sylva marques don't have that construction.
Re: RT rebuild thread
Posted: Tue Feb 14, 2012 7:55 pm
by DH2
Agreed, but some simple strengthening in some areas will reduce it's floppiness and help keep the suspension attachment points where they are supposed to be, rather than using the chassis as a spring (when all bets are off)

Re: RT rebuild thread
Posted: Sat Feb 18, 2012 11:53 pm
by pigeondave
Dave[/quote]
Torsional stiffness is something that interests me with these cars. I have seen various different chassis for the Fury over the last few years of snooping on the Internet and going down to Goodwood to see the cars.
An upgrade that I will be making is the one the RGB racers use that ties the rear mountings of the top rockers to each other.
This has been done in two ways from what I have seen. The first is to use a piece of tube and just weld flat plates to the ends and drill some holes in the plates and pass the rocker bolt through the hole and the rocker.
The second one looks more thought out but it is probably a necessity when lowering a chassis for racing and involves a truss structure.
 the above pic from Tim Hoverd's car pages
I have also been told that the bike engined chassis have the lower bar to the start of the tunnel left in place. A friend had a BEC that didn't have this piece and retro fitted it. He said it made a difference to the feel of the car. I suppose it completes the box that is the bulkhead. This option is not available to CEC as the gearbox gets in the way. That's why the bit is cut out. I think that there may be a way to reintroduce this but haven't taken time to look yet.
Something else that I have seen is the addition of the high level diagonal similar to the one that runs from the top of the pedal box (closest to the tunnel) to the mount of the top rocker. One can be put in as a removable piece on the other side of the engine bay if using a car engine. It just dives under the exhaust manifold. This I would think would complete the engine bay.
The last thing i have found is
locost7.info/files/chassis/kitcaranalysis_V2.doc
I know its a locost chassis but it appears that welding in the top of the tunnel is an improvement.
Please note that i have only been looking at the Fury chassis and the Stylus that you have may be different.
David
Edited 21:59 as I can't splel
Re: RT rebuild thread
Posted: Sun Feb 19, 2012 11:08 am
by stylussprinter
Yes , as you've hinted , the Stylus chassis is very different stiffness wise also when Tim Benbow bought SSC he implemented several small areas of strengthening . One being the bulkhead to front chassis/tower area --- a square tube matching the driver's side tube extending from the pedal box towards the tower(which you mention Dave)
The others were pick-up points and tower support but the latter only on his own demo RT -- it was a bolt on.
A few Fury racers and road cars have cracked at various points around their chassis , showing that flex has been an influence but to my knowledge no Stylus's .
Re: RT rebuild thread
Posted: Sun Feb 19, 2012 2:25 pm
by pigeondave
stylussprinter wrote:
A few Fury racers and road cars have cracked at various points around their chassis , showing that flex has been an influence but to my knowledge no Stylus's .
To be fair the chassis that have cracked are race chassis. It is believed that somehow a few race chassis made it on to the road. The race chassis was made of 20 gauge section so a bit too light weight for the road. After all a race car is looked over after every outing and cracks would be noted.
I believe that the new Fury chassis are now produced with 14 gauge section, Steve will not issue race weight chassis or bodywork for the road. There are also questions about the design of the diff housing on the IRS cars.
Anyway I thought that this was a Stylus board

Re: RT rebuild thread
Posted: Sun Feb 19, 2012 3:34 pm
by DH2
Hi Dave.
The changes you mention are already on the list. I will be adding some extra bracing to the rocker mounts, as there isn't alot there at the moment. Also will be re-adding a tube across the bottom of the tunnel at the front and rear. Also bracing down from the front bulkhead down towards the rockers and from above the tunnel on both sides. Adding a cage will also help with rigidity, as it will tie all four corners of the cockpit together.
Time to get back to the angle grinder...
Dave
Re: RT rebuild thread
Posted: Sun Feb 19, 2012 3:42 pm
by mikeb
I have welded a 1/2 " square section from the left top of the transmission tunnel that runs forward under the exhaust to the left upper chassis rail just under the rocker position. I felt it made quite a difference.
My welding is not as good as Nev's so it eventually cracked and I could feel the difference.
I think that a little section should be attached from the lower dash board mounting bar to the top of the transmission tunnel.
Re: RT rebuild thread
Posted: Mon Feb 20, 2012 7:04 pm
by DH2
mikeb wrote:I think that a little section should be attached from the lower dash board mounting bar to the top of the transmission tunnel.
Yes, tricky bit of welding though - I might just bond and rivet some angle between the two.
Weekend update:
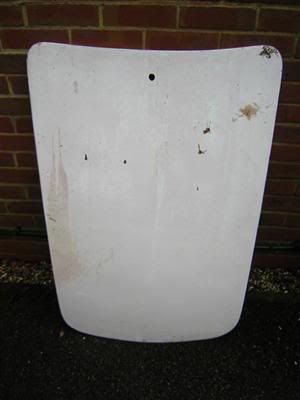
Thanks to MattD and NevP, I have managed to get hold of a 'new' bonnet panel. Whilst it needs a bit of work, hopefully it will be less than the one I already have with a great big hole in the middle. Although it has sagged a little at the windscreen end, I'll put some weight on it and see if it wants to go back.
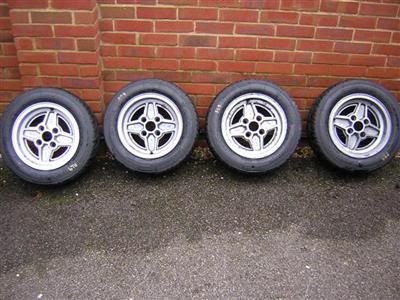
I've also picked up a set of Lasers with some rock hard A048 wets on, for pushing the chassis around if needed.
First job was to extract the pedal box. This put up more opposition than I had anticipated, but I won the battle in the end!
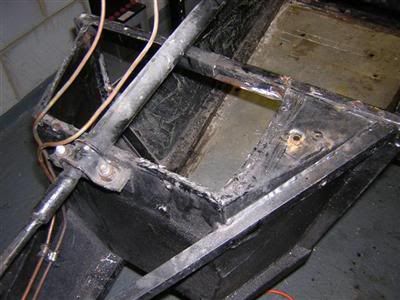
Next it was time to attack the chassis on the drivers side. For trial purposes I've cut the upright at the end of the tunnel and bent it so that it is vertical. I also cut around the footwell side panel to bend that out of the way to line up (roughly) with the new upright position. (Looks odd in some of the photos, but it is vertical)
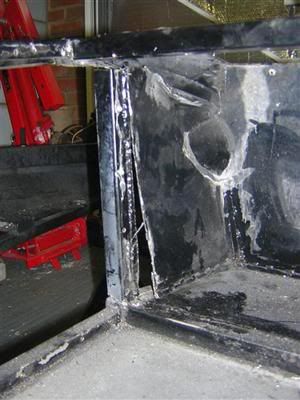
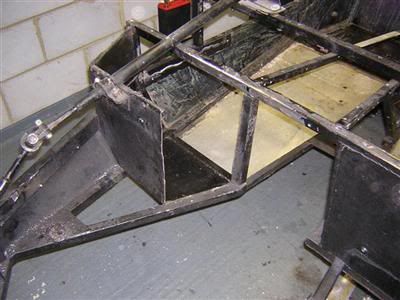
I tried the gearbox back in at that point, and stared at it for a while... and decided to keep cutting. I cut the side of the footwell off entirely and trimmed back the front panel to roughly vertical, as this was a bit close to the bellhousing. I also cut out the diagonal which goes towards the front of the chassis, which will be re-fitted and re-aligned once the footwell is rebuilt. I also cut and bent the longitudonal tube on the top of the tunnel on the drivers side to see how it will look aligned with the new upright. Popped the gearbox back in for more ponderings.
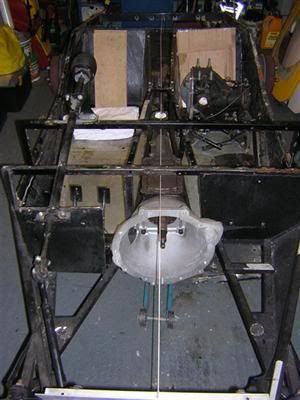
My shiny new seats should be arriving this evening, so I'll have another sit in it and see how it feels. I might be able to decide what I am going to do with the pedals then... I have an OBP pedal box, but might be changing my mind over whether to use it or not, it would at least need some modifying to fit in the footwell.
Dave
Re: RT rebuild thread
Posted: Wed Mar 14, 2012 2:37 pm
by DH2
A quick update - I've been keeping busy with cutting, grinding, welding, working on modifications to the front half of the chassis...
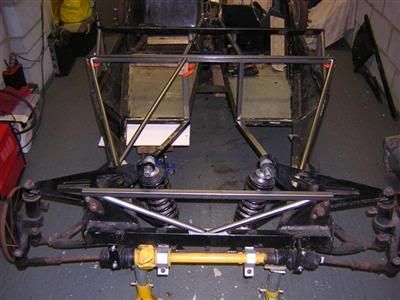
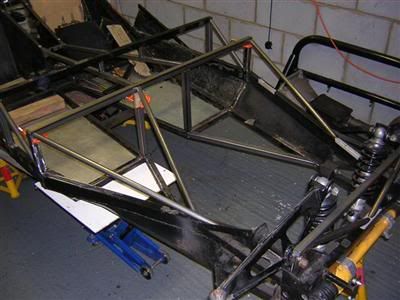
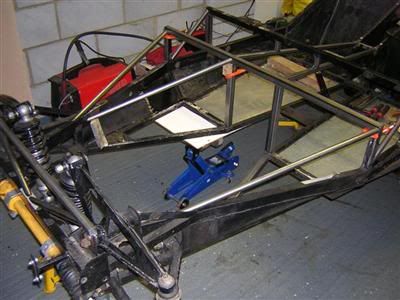
Dave
Re: RT rebuild thread
Posted: Wed Apr 11, 2012 12:51 pm
by DH2
Where did that month go...?
The car doesn't look alot different, though there has been plenty of hours put into it:
- engine and gearbox have been in and out a couple of times to see how it aligns with the chassis modifications.
- gearbox mount in the chassis has been moved to the new position required.
- all the tubes I had tacked in place have now been welded proper.
- I've spent a fair amount of time working on the new pedal box arrangements.
- I had to replace two fence posts in the garden!
Dave
Re: RT rebuild thread
Posted: Fri Apr 20, 2012 1:34 pm
by DH2
After a failed first attempt, my second design at making the footwell bulkhead for the master cylinders has turned out ok.
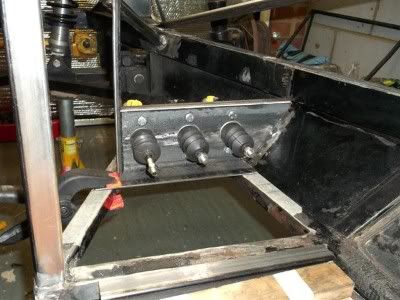
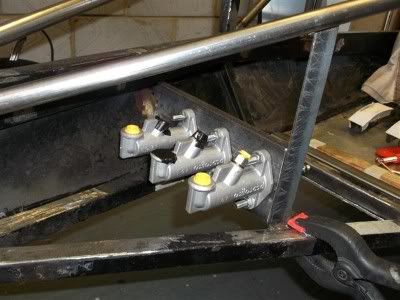
Also made up the strut for the rear of the front rocker mounts.
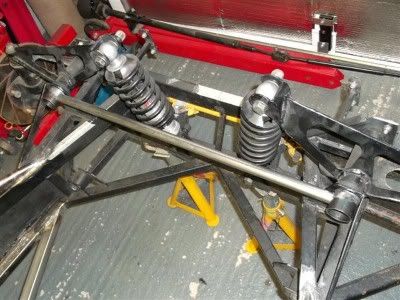
Dave
Re: RT rebuild thread
Posted: Fri May 18, 2012 3:56 pm
by DH2
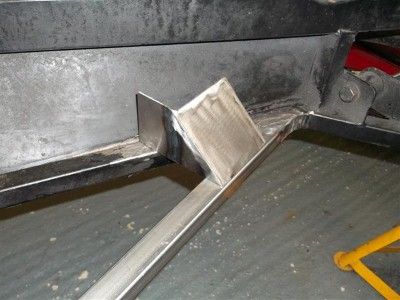
I've started working on engine mounts, by fabricating these platforms to utilise the Land Rover rubbers.
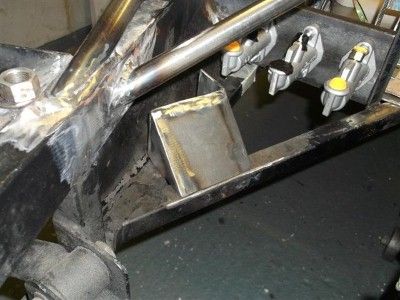
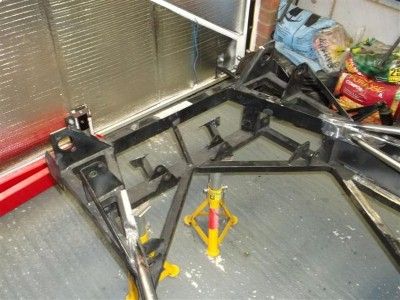
Then all the suspension got stripped off (most of it will be available for sale soon

).
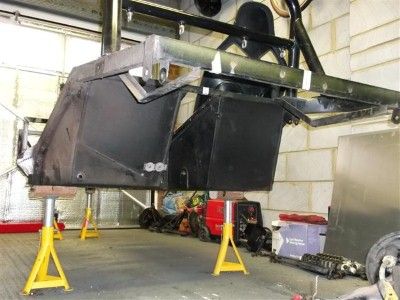
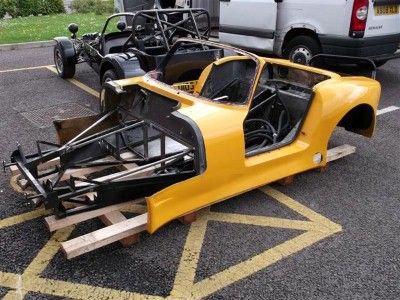
And the "car" went on a holiday to Caged, where it still is, until I get back from a work trip to the US, to collect it in a couple of weeks time.
Meantime, my fettled cylinder head arrived back in the post this morning

Dave
Re: RT rebuild thread
Posted: Fri May 18, 2012 6:59 pm
by stylussprinter
Pedal box and master cylinder mounts look good , so much better than the Escort pedals. I cut the top pedal box off to do the same 5yrs ago . Nice tidy welds too

Will you be competing at some point Dave , fitting a '' cage '' is quite an expense aye

Re: RT rebuild thread
Posted: Fri May 18, 2012 10:12 pm
by DH2
stylussprinter wrote:Pedal box and master cylinder mounts look good , so much better than the Escort pedals. I cut the top pedal box off to do the same 5yrs ago . Nice tidy welds too

Will you be competing at some point Dave , fitting a '' cage '' is quite an expense aye

Thanks Rob.
Not sure about competing, not in the plan right now, it's being built as a road car, but never say never.
My reasoning for the cage is two-fold. First is safety, for obvious reasons really, you are quite vulnerable in these little cars, especially as modern cars seem to be getting bigger and bigger. Secondly, a beneficial side-effect is that it will stiffen the chassis up a fair bit, as it ties the four corners of the cockpit together.
Expensive, yes, especially a one-off, but what price ones head...?
Speaking of expensive heads...

